Getting started with Phare
In this guide, we will walk you through the onboarding process to get started with Phare. At the end of this guide you will have your own organization account, and a basic understanding of how to make the most out of Phare.
Account Creation
To get started with Phare, you need to create an account. You can create one on the registration page.
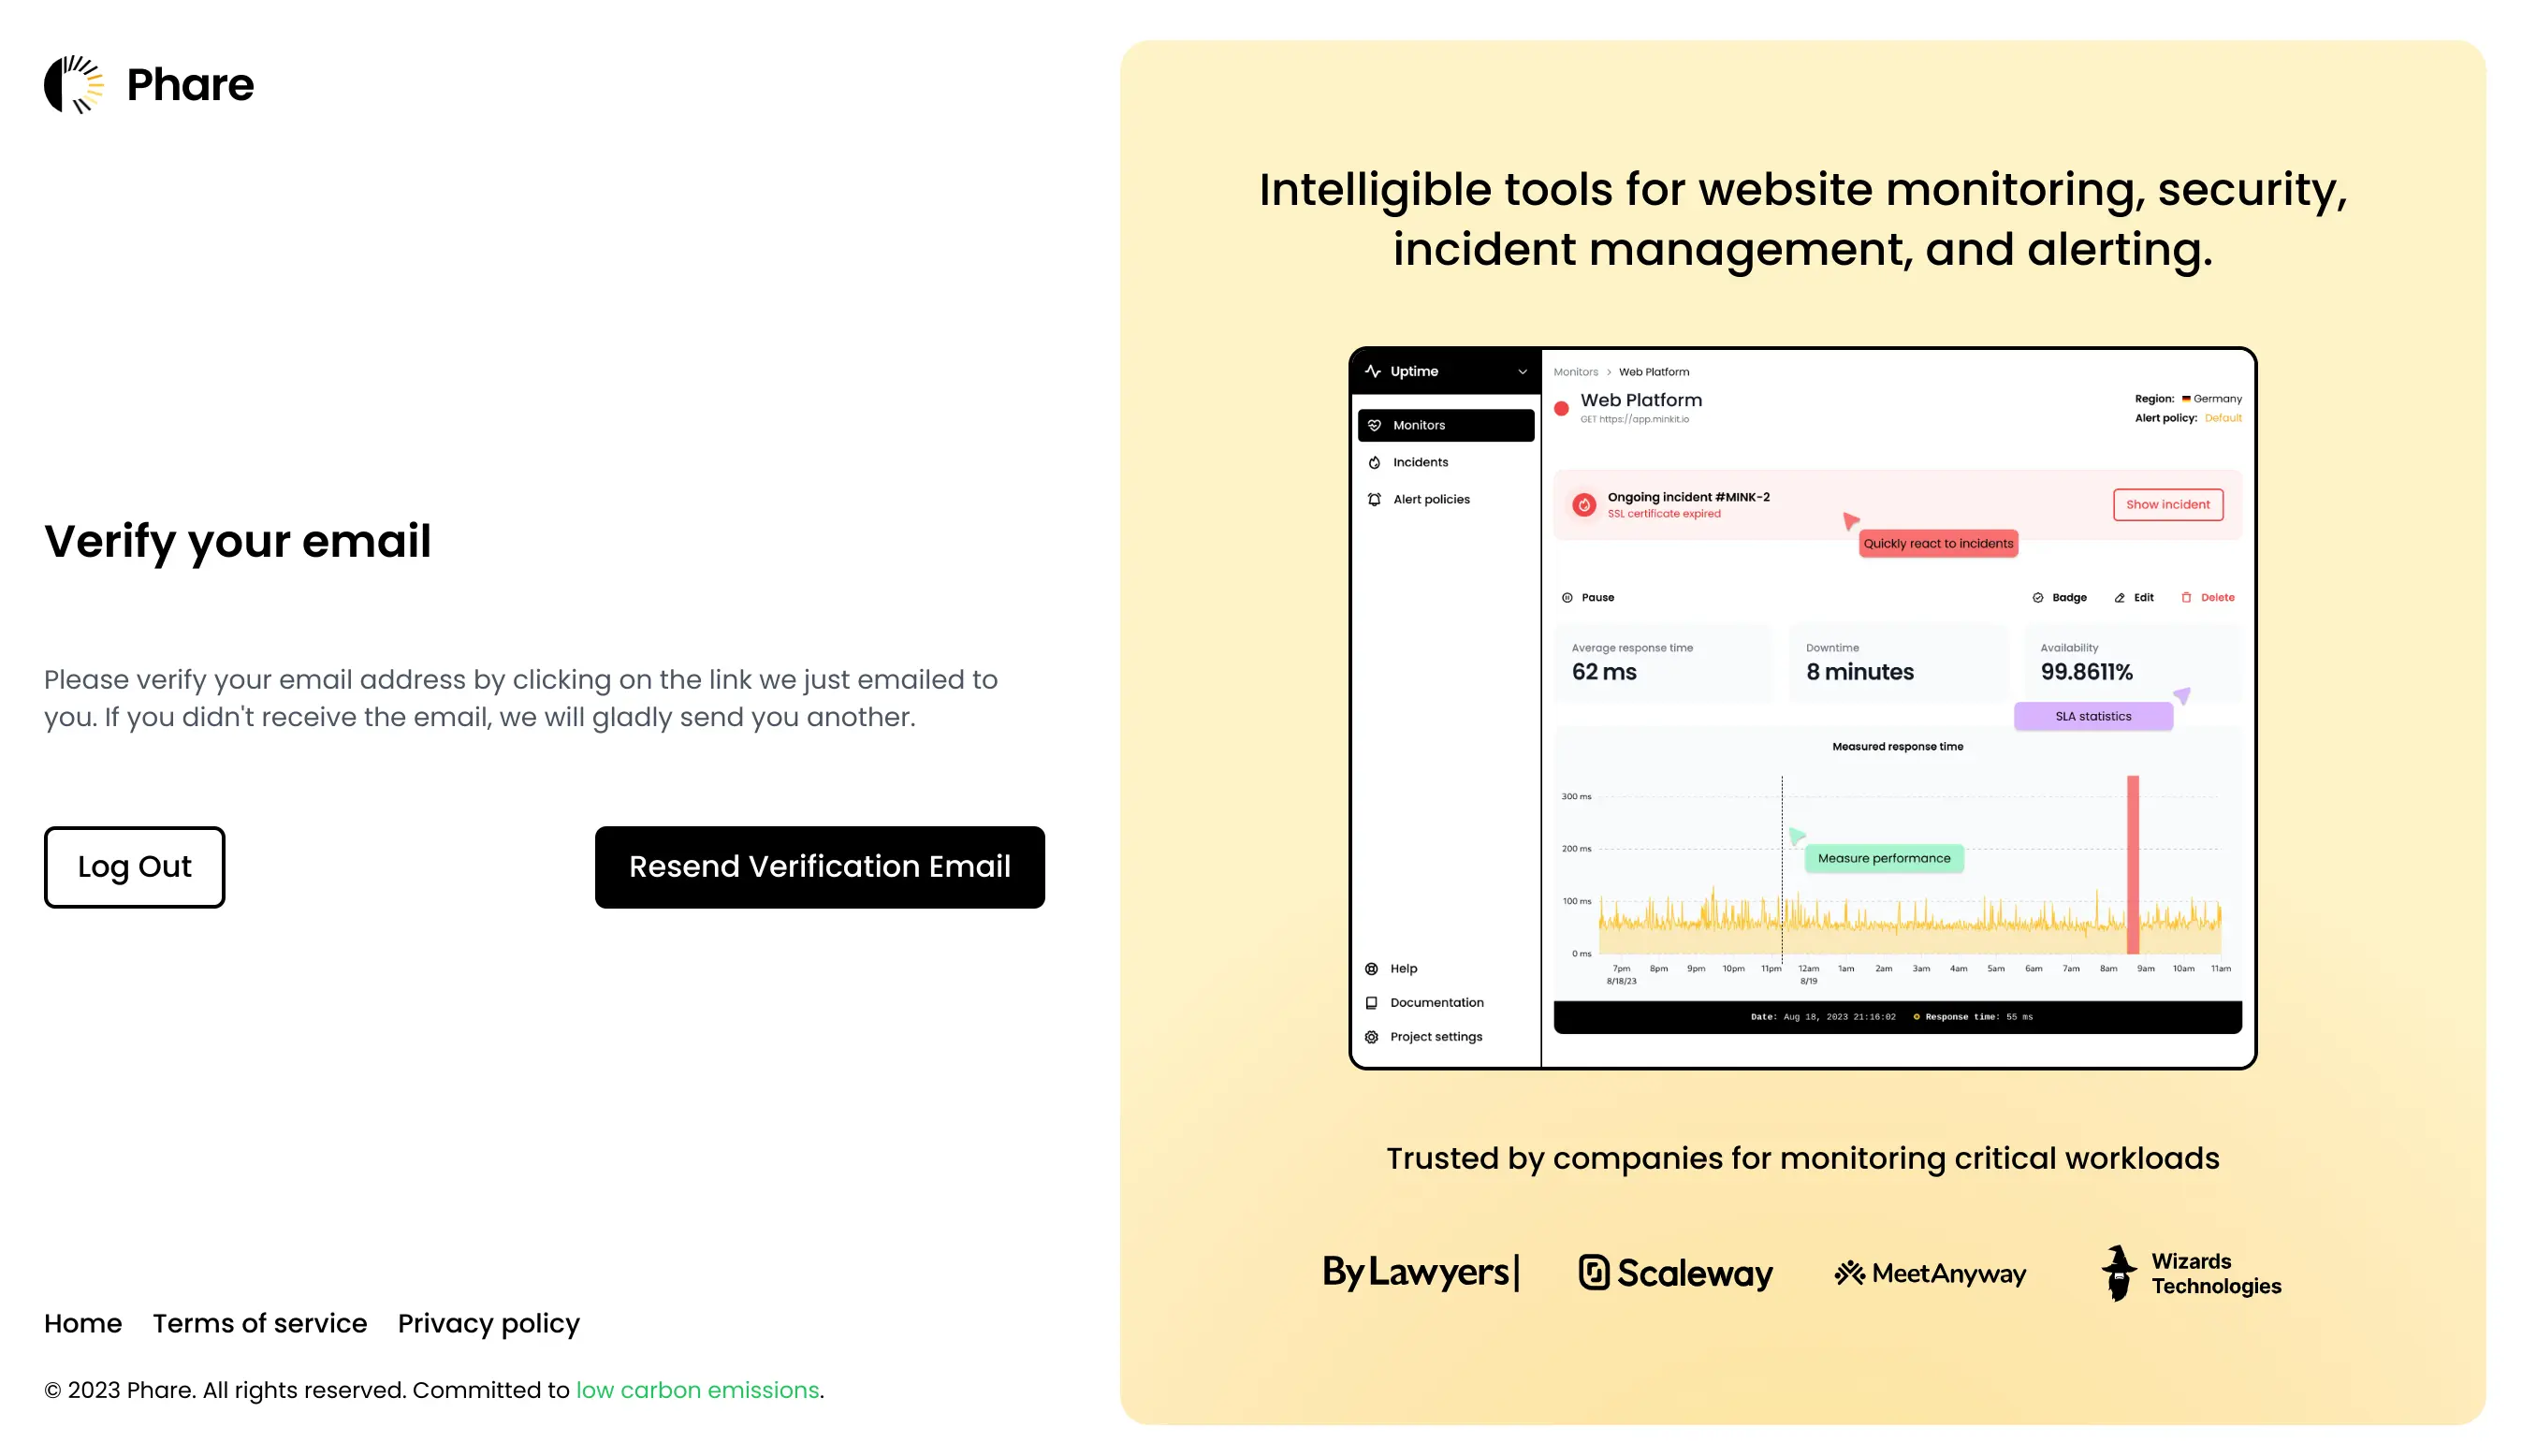
Once you have created your account, you will receive a confirmation email. Click on the link in the email to confirm your account and log in to Phare.
Plan Selection
The first step of the onboarding process is to select a plan for your organization between Phare's Hobby (free) and Scale (paid) offer. Both plan offer the same features, but the Hobby (free) plan has a more limited monthly usage. You can change or upgrade your organization's plan at any point in the future.
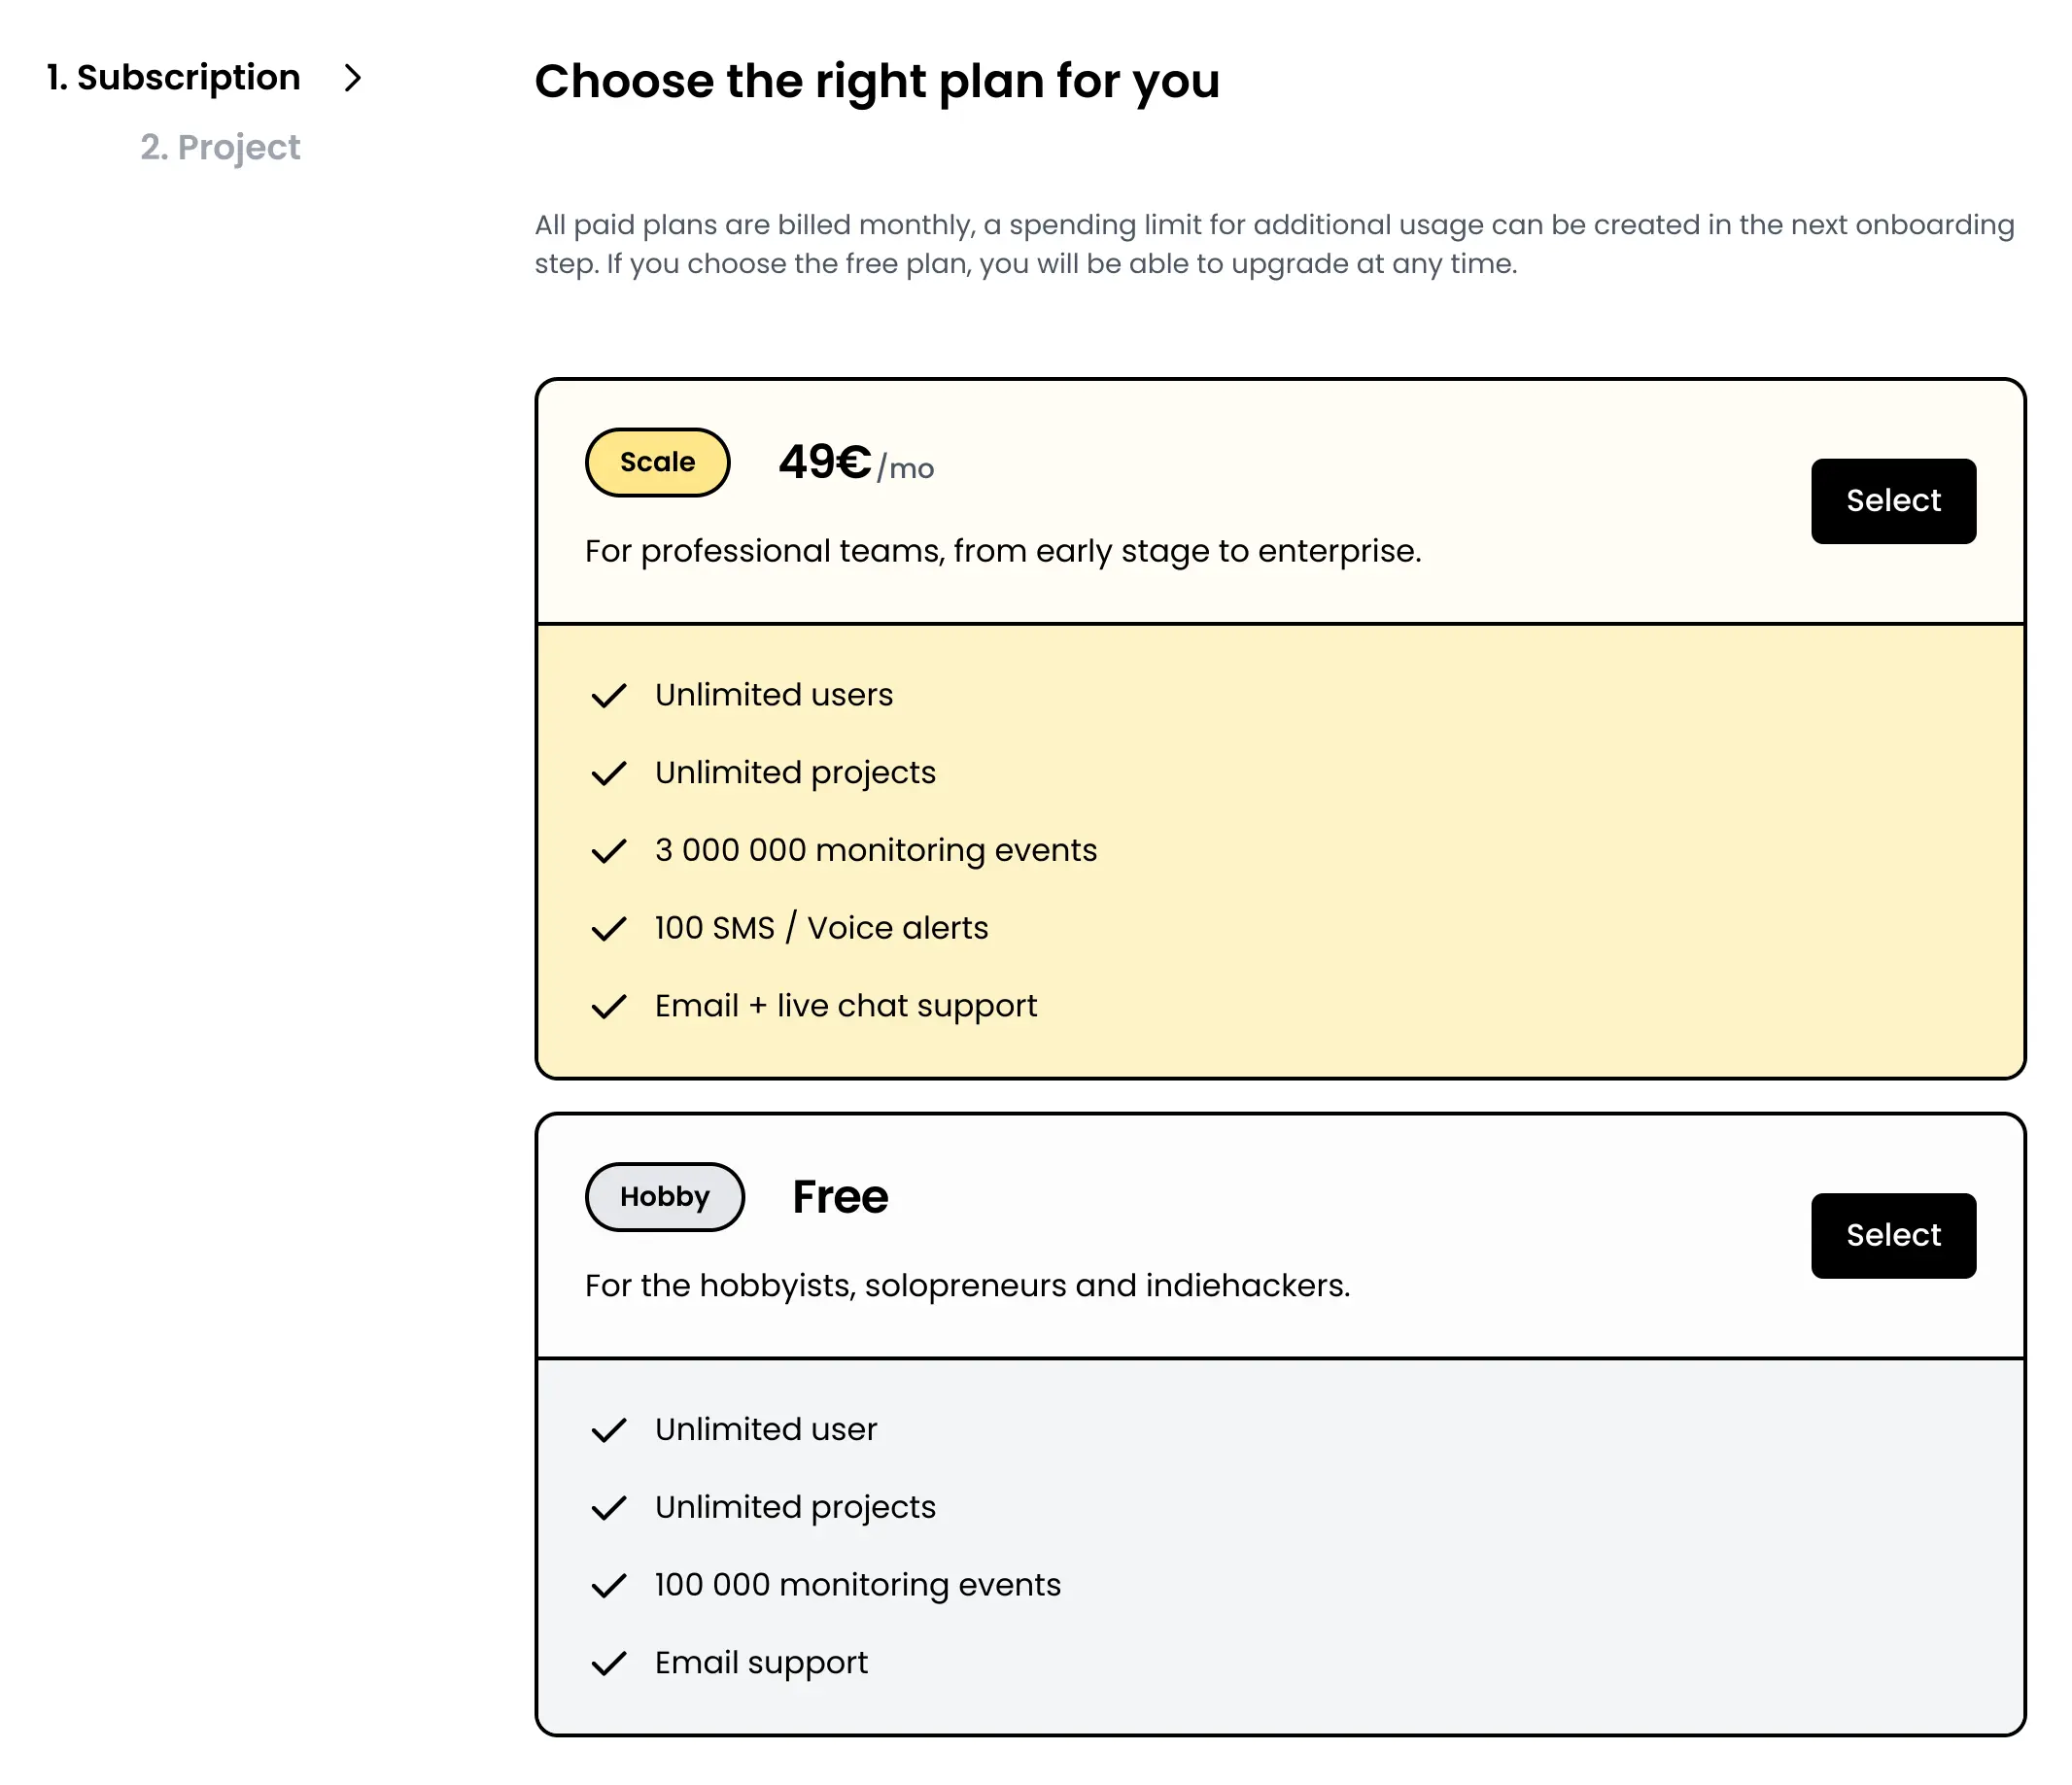
If you choose to subscribe to the Scale (paid) plan, you will be automatically redirected to our payment processor website's to fill your billing information.
Project creation
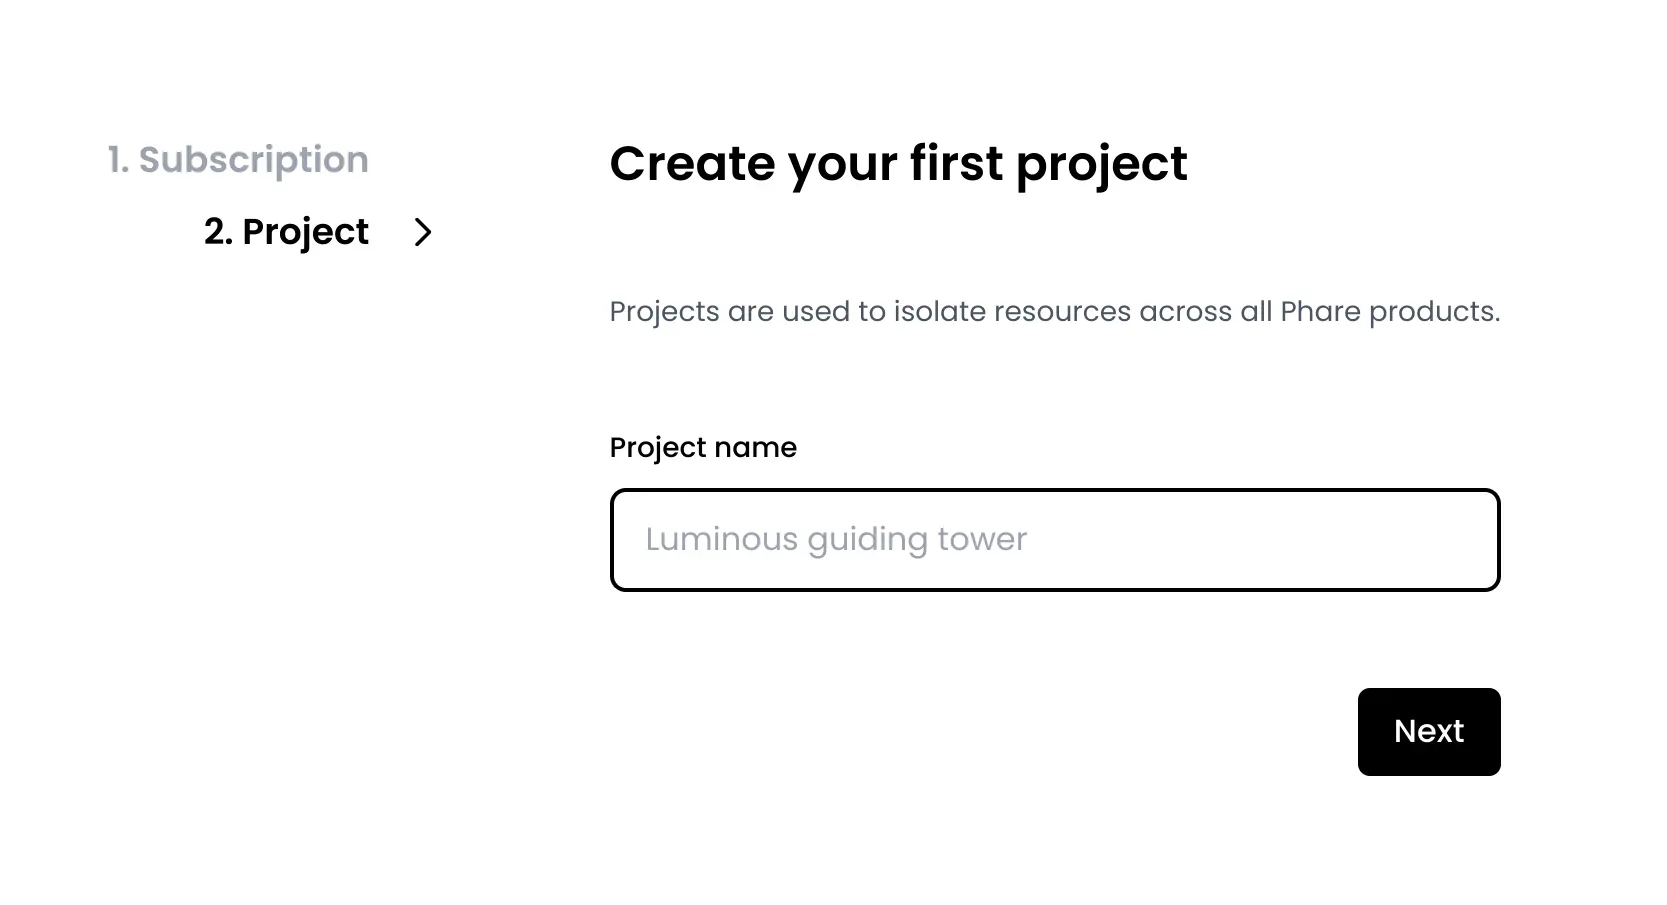
Once you have selected your plan, you can create your first project to organize your resources. In Phare, every resource is attached to your organization, or a project inside your organization. Using multiple projects to organize resources is optional, to keep things simple, try to replicate the internal structure of your organization in Phare.
Finally, keep in mind that projects are also used to organize team management access. If a resource should only be accessible by a subset of your organization's team members, this resource should be in its own project.
Congratulations! You have now completed the onboarding process for Phare. You can start to monitor your website and server uptime, manage incidents, and receive automated alerts.